Classic Architecture Meets Sustainable GreenTechnology
August 2010 Update and Knee Brace Primer
Welcome to the mostly hot and humid summer of 2010. I've been trying to maintain momentum on framing
my own barn, while keeping a couple of other design-build jobs going. This has also been the season that I've
resolved to get my own body working a bit better, leaner and more flexible. My wife and I have been working
out almost every early morning, unless the heat and humidity are so bad that only deerflies can thrive. We
alternate running, mt. biking, and rock climbing, and add a bit of free weight work and yoga to the mix. These
morning workouts have made the work days go especially well - though sometimes it's hard to roll out of bed
and hit the trail, it sure feels good once we've done it!
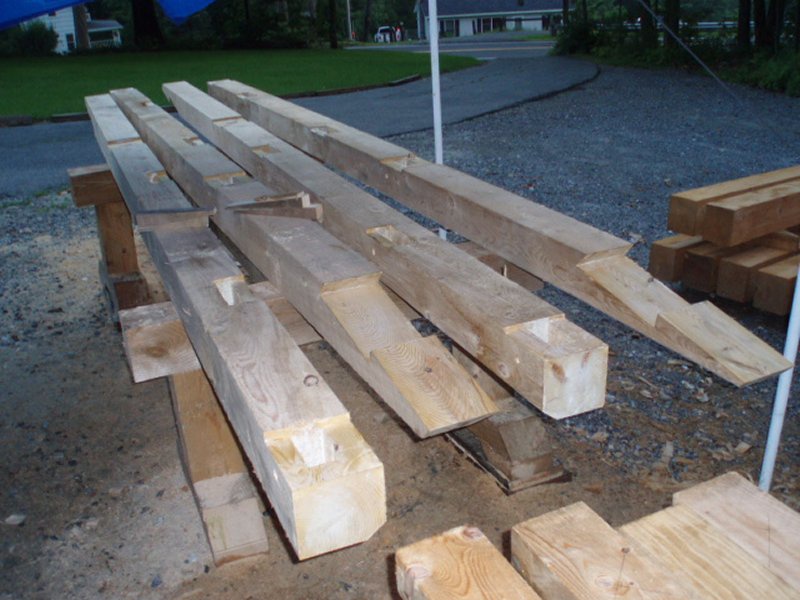
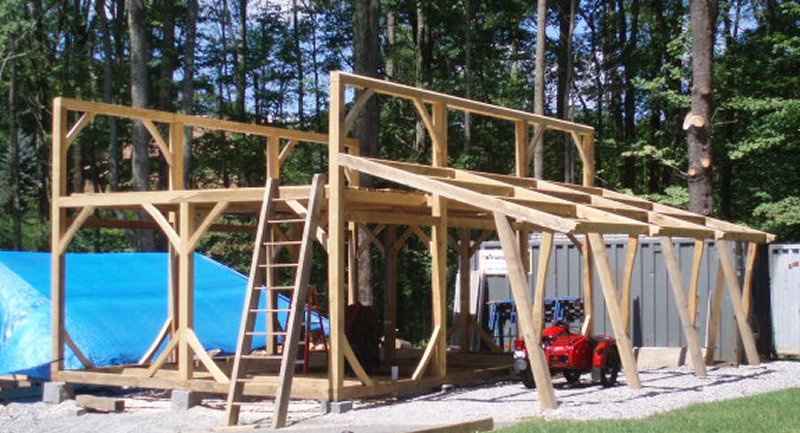
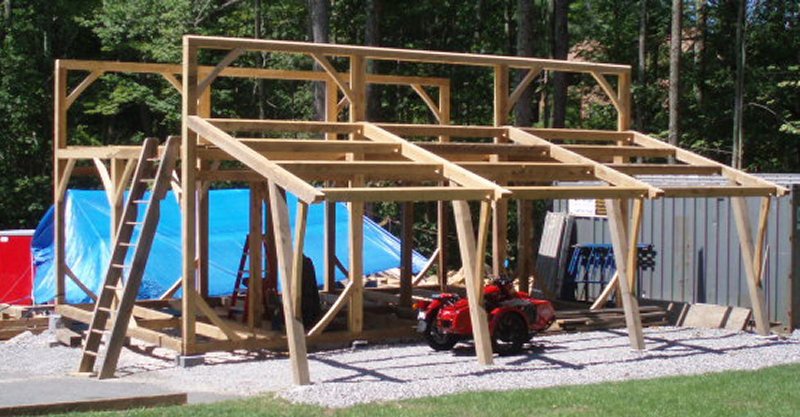
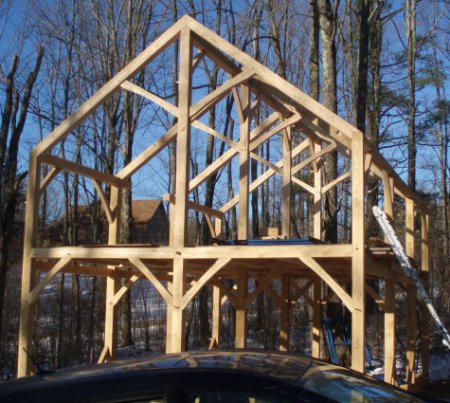
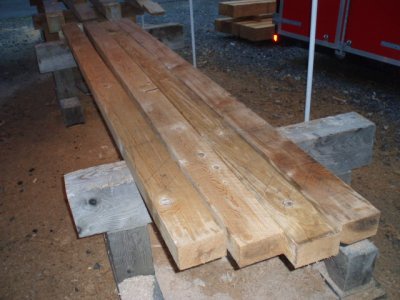
This past week I finished up the top plates and installed them with the help of my brother and the barn is
starting to look like an actual building..
Over the next couple of weeks I plan to cut and install the roof framing. It will look very similar to a
house frame that I cut last winter.
In keeping my promise to provide step by step instruction in joinery, I will lead you through cutting and
fitting a knee brace. Though it's a relatively simple task, knee braces are so ubiquitious that an efficient
process will really pay off in terms of time saved and crisp asthetics. The purpose of a pair of opposing
knee braces is to stabilize a system of posts and beams laterally. Though they provide some support in
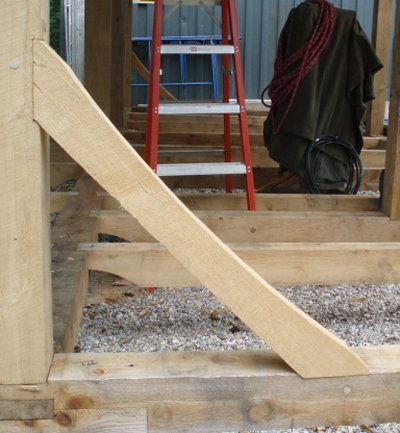
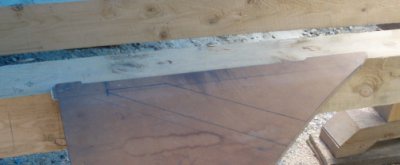
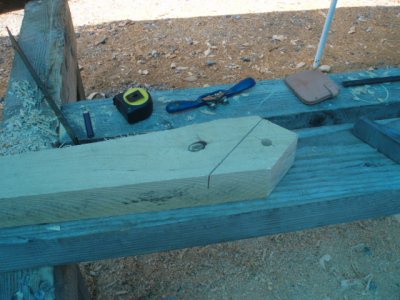
tension, their real strength is in compression, and thus they need to be used in opposing pairs. Here are
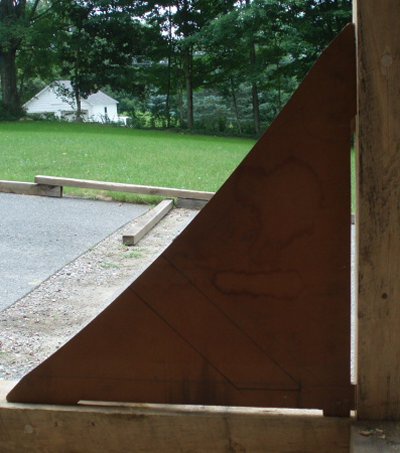
pictures of a knee brace, and a template they I use to lay out both the knee brace and the mortices that
that house it. Notice the small ears on the template that allow setting the brace 1/2" into the timbers.
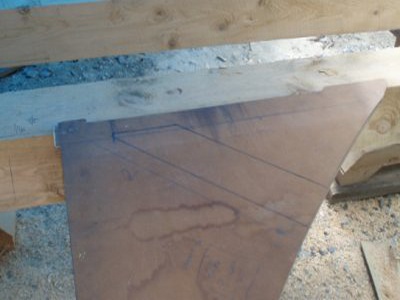
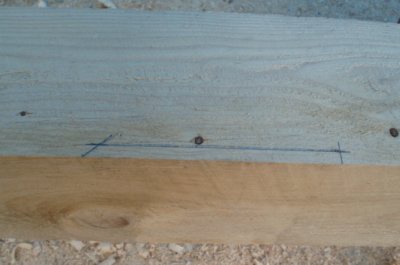
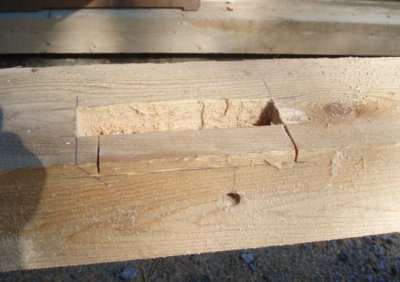
Now we'll hold the template against the timbers and layout the mortices.
After taking the marks from the template, we'll
give them depth, in this case 3", which is the
thickness of the braces.
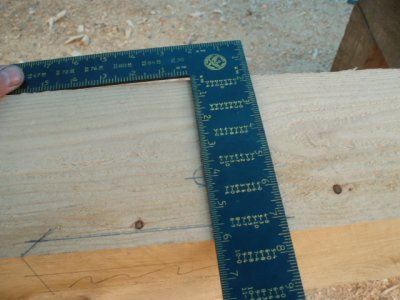
Next we'll lay out the position of the hole for the peg. In this case it's 2" from the square side of the brace
and 1 -1/2" from the shoulder. The framing square has a 2" and a 1-1/2" leg. We will ultimately "draw bore"
the brace, meaning that we will stagger the holes on the mortice and the tenon so that driving the peg
forces the joint tight.
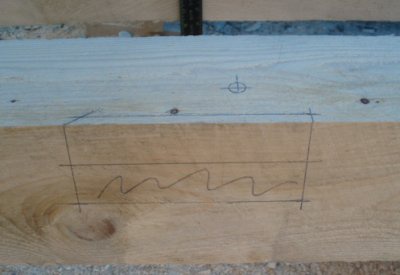
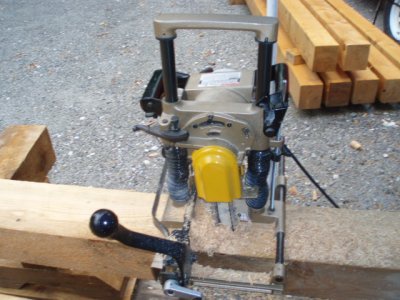
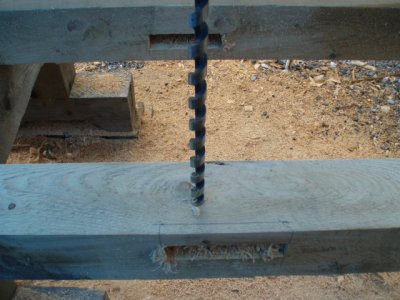
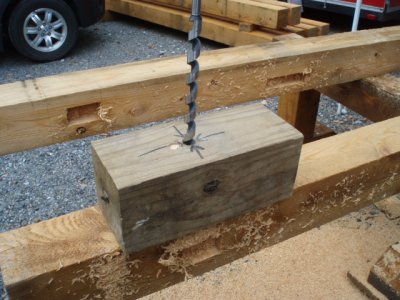
To bore the hole, I use a home made boring jig. It's basically a 6x6 that I've driven a hole in with a drill press.
You/we might notice that I alternate between first and second person narration. There are a few reasons for this:
1- to pretend that I have more help than I really do, 2- To lull you into thinking that we're working together, and
3- because I'm more qualified to design and build things that I am to describe the process in writing. .....To
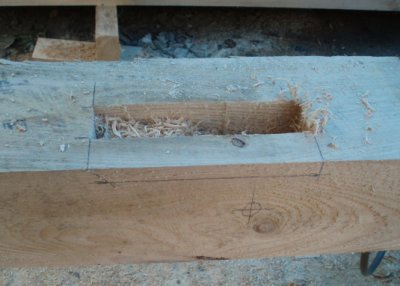
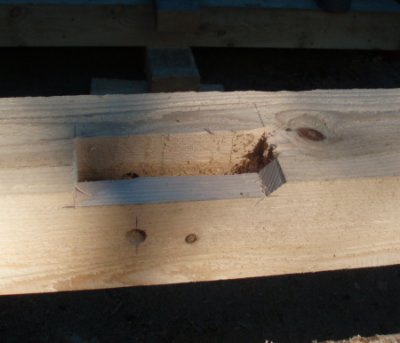
remove wood to create a mortice, I use a chain morticer. Without this tool, you could use a drill and then
square the mortice with a chisel.
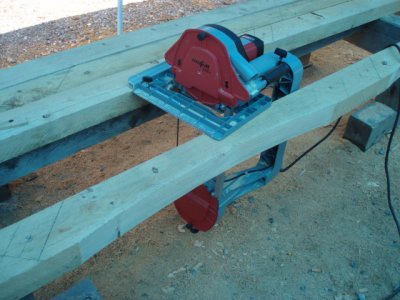
Next, I use a circular saw to cut the outline of the brace housing, and then clean it up with a sharp framing
chisel.
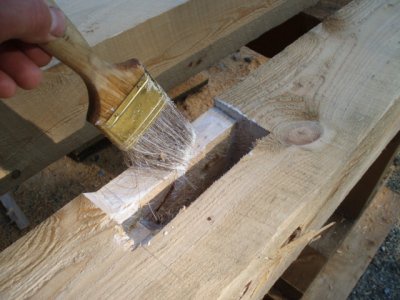
To finish up the mortice side of this process, I coat the joint with "anchor seal", which is a liquified parafin used
to slow the loss of moisture from the timber and minimize cracking, checking, and twisting.
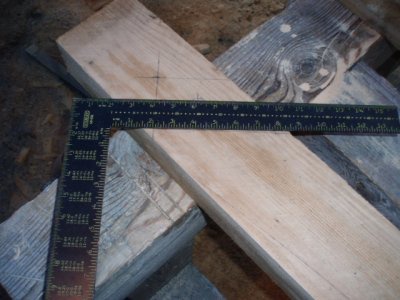
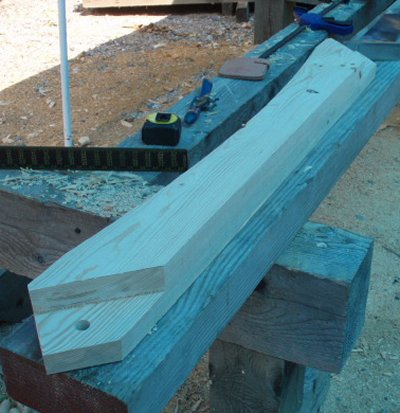
Now we'll layout and cut the actual braces, using the same template, and layout the holes the same way as
we did on the mortice side.We'll offset the holes approx 1/8" to provide "draw".
We'll cut the decorative curve with a portable bandsaw, a very hand tool for timber framing.
Now we'll cut the tenon ends of the brace with a 10" circular saw.
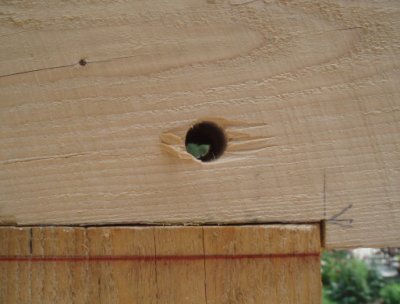
If you look carefully into this hole, you can see the
"draw", the slightly offset holes that keep the joint
tight.
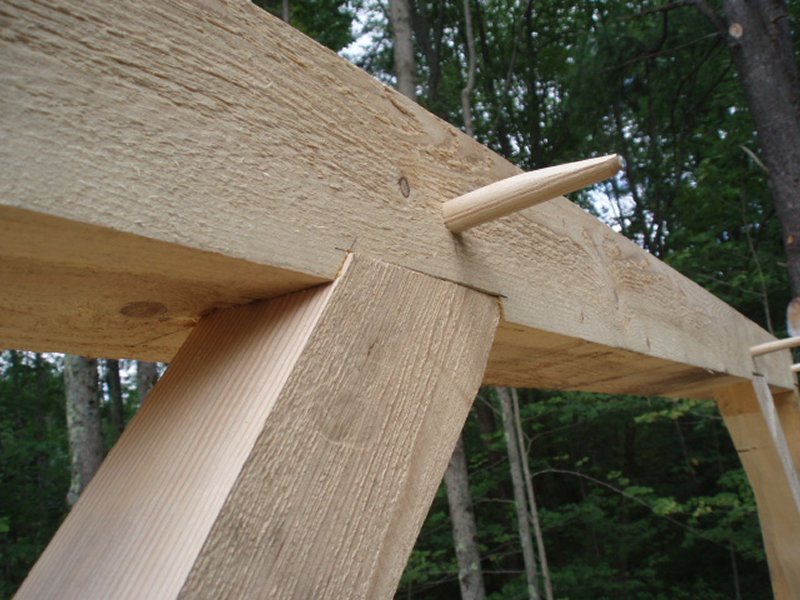
And the final assembly, including pegging the braces into place. Enjoy the rest of summer and by all means
stop by my place in Monterey to check out the barn and other projects in person. Please also notice the list of
blogs at the bottom of this page and feel free to browse them. The geometric design blogs seem to be
favorites of many people.